Monthly Archives: April 2016
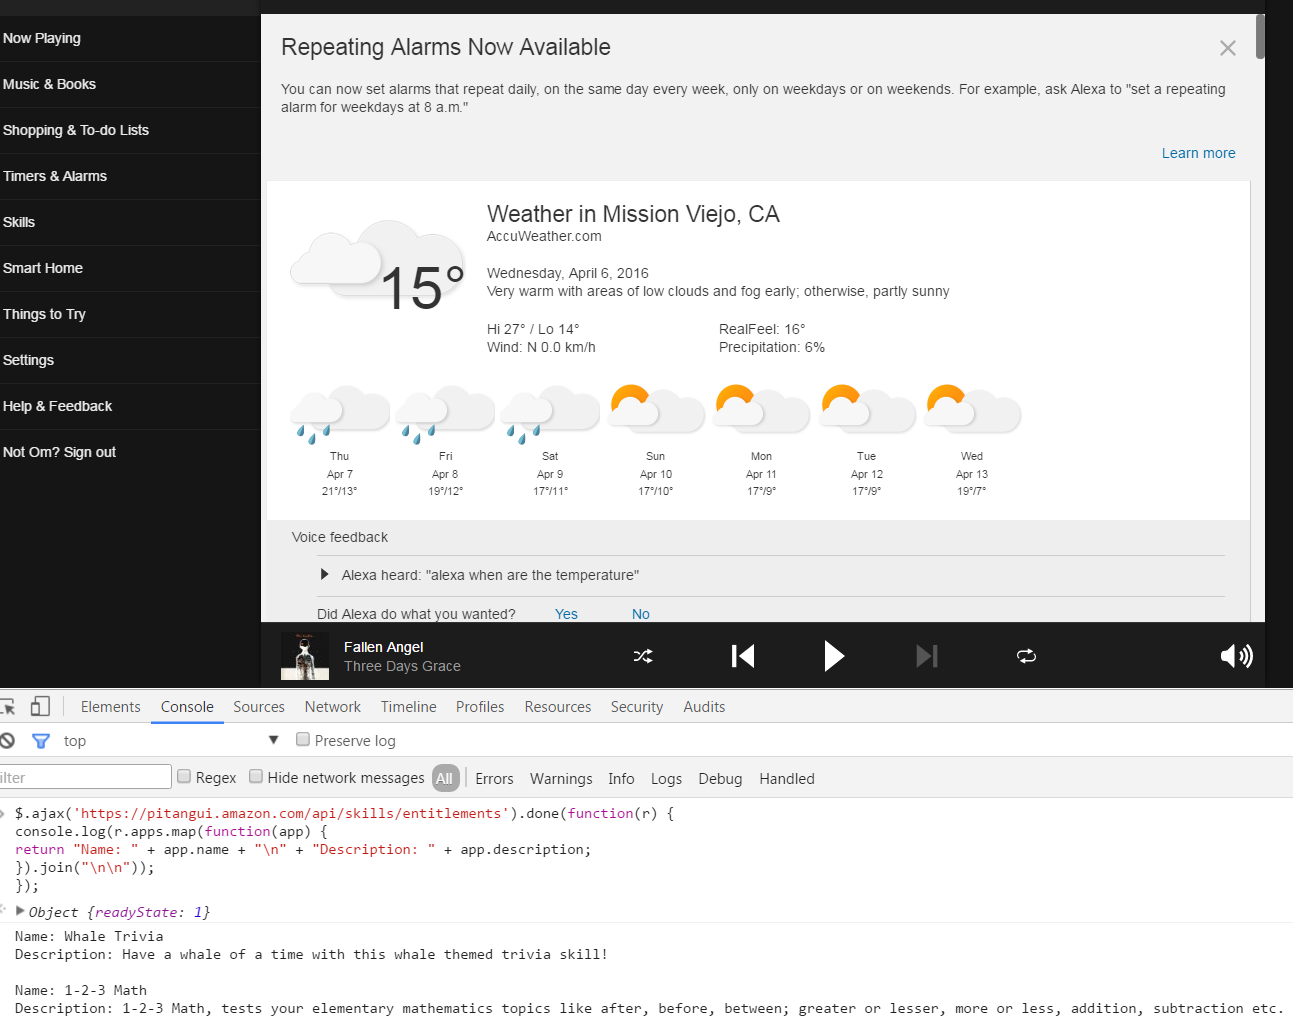
Alexa’s Built-in Skills, Capital One
Online list of Echo Skills.
Node Rest Client
Making REST calls
Each API call takes a set of data in JSON format and returns data also in JSON format. The exception to this is a GET request, which instead takes its data as a query string. I didn’t want to have to deal with this detail, so I cobbled together a wrapper function that would produce data in the correct format and issue the request.
var querystring = require('querystring');
var https = require('https');

var host = 'www.thegamecrafter.com';
var username = 'JonBob';
var password = '*****';
var apiKey = '*****';
var sessionId = null;
var deckId = '68DC5A20-EE4F-11E2-A00C-0858C0D5C2ED';

function performRequest(endpoint, method, data, success) {
  var dataString = JSON.stringify(data);
  var headers = {};

  if (method == 'GET') {
    endpoint += '?' + querystring.stringify(data);
  }
  else {
    headers = {
      'Content-Type': 'application/json',
      'Content-Length': dataString.length
    };
  }
  var options = {
    host: host,
    path: endpoint,
    method: method,
    headers: headers
  };

  var req = https.request(options, function(res) {
    res.setEncoding('utf-8');

    var responseString = '';

    res.on('data', function(data) {
      responseString += data;
    });

    res.on('end', function() {
      console.log(responseString);
      var responseObject = JSON.parse(responseString);
      success(responseObject);
    });
  });

  req.write(dataString);
  req.end();
}
https://rapiddg.com/blog/calling-rest-api-nodejs-script
https://www.npmjs.com/package/node-rest-client
Cesium – AJAX to update InfoBox ?
var viewer = new Cesium.Viewer('cesiumContainer');
var scene = viewer.scene;

var handlerA = new Cesium.ScreenSpaceEventHandler(scene.canvas);
  handlerA.setInputAction(function(click) {
    var pickedObject = scene.pick(click.position);
    if (Cesium.defined(pickedObject)) {
      $.ajax({

        type: 'GET',
        url: 'InfoBox.php',
        data: (pickedObject.id.id).val(),

        success: function(result) {
          pickedObject.id.description = "The temperatur of " + result.town + " is " + result.temp + " degrees...";
        }
      });
    }
  }, Cesium.ScreenSpaceEventType.LEFT_CLICK);
pickedObject.id is the entity.
cesium – Updating a CZML ‘description’ upon opening the InfoBox ?

var viewer = new Cesium.Viewer('cesiumContainer');
var scene = viewer.scene;

//------ create CZML ------

var czml =
 [{"id" : "document",
 "version" : "1.0"
 },{"id" : "Boston",
 "label":{"text":"Boston"},
 "position":{"cartographicDegrees":[-71.0589,42.3601,0]},
 "description":"Boston is a city...",
 },{"id" : "New York City",
 "label":{"text":"New York"},
 "description":"New York is a city...",
 "position":{"cartographicDegrees":[-74.0059,40.7127,0]},
 }];

var promise = Cesium.CzmlDataSource.load(czml);
promise.then(function(dataSource) {
 viewer.dataSources.add(dataSource);

   //------ Get the array of entities
 var entities = dataSource.entities.values;
   //------ Loop entities
   for (var i = 0; i < entities.length; i++) {
     var entity = entities[i];
     var name = entity.label;
     entity.label.translucencyByDistance = new Cesium.NearFarScalar(100000,1.0,500000,0.0);
   }
}).otherwise(function(error){
   //------ Display error
 window.alert(error);
});

    //------ Use SSEH to update to current description

var handler = new Cesium.ScreenSpaceEventHandler(scene.canvas);
handler.setInputAction(function(click) {
  var pickedObject = scene.pick(click.position);
  if (Cesium.defined(pickedObject)) {

    pickedObject.id.description =  'The current temperature is...';
   }
}, Cesium.ScreenSpaceEventType.LEFT_CLICK);
Setting the description property should update it.  Here is an example:


var handler = new Cesium.ScreenSpaceEventHandler(scene.canvas);
handler.setInputAction(function(click) {
    var pickedObject = scene.pick(click.position);
    if (Cesium.defined(pickedObject)) {
        pickedObject.id.description = 'New description';
    }
}, Cesium.ScreenSpaceEventType.LEFT_CLICK);


pickedObject.id is the entity.
cesium – How to enable javascript in InfoBox ?

The InfoBox does indeed run in an iframe for security and sanitation purposes. You can remove all restrictions by calling the below line of code after creating the view:
viewer.infoBox.frame.removeAttribute('sandbox');
Only do this if you are in complete control of the data that will be loaded into the InfoBox, otherwise it is a security issue.
You can style the infoBox just as easy by injecting any css you want into the viewer.infoBox.frame for example:
            var cssLink = frameDocument.createElement("link");
            cssLink.href = buildModuleUrl('Path/To/Your/CSS/File.css');
            cssLink.rel = "stylesheet";
            cssLink.type = "text/css";
            viewer.infoBox.frame.contentDocument.head.appendChild(cssLink);
By default, we inject the contents of Widgets/InfoBox/InfoBoxDescription.css
You can also style outer InfoBox properties by overriding the CSS classes defined in Widgets/InfoBox/InfoBox.css in your own apps css file. I’m not sure if you’ll be able to add draggable support in this way, but you can do a bunch of other stuff.
If you want to replace the infoBox completely, then simply pass “infoBox: false” to the Viewer constructor. It’s then up to you to bring up your own widget when an entity is selected. The InfoBox simply displayed the content of the entity.description property. You could copy/paste the existing InfoBox code as a starting point.
http://www.html5rocks.com/en/tutorials/security/sandboxed-iframes/


